What the Conversions API does
The Meta Pixel sends events from the shopper's browser. The Conversions API sends events from a server. Browsers block or limit a share of pixel events, so using both lets Meta see conversions the pixel alone would miss. When the same event arrives from both, with the same event ID, Meta counts it once.
In short
Pixel and Conversions API together, deduplicated by event ID, is the setup Meta recommends.
Why Shopify stores lose Meta conversions
Shopify's checkout extensibility no longer runs tracking scripts pasted into checkout or the order status page. Unless checkout events are sent another way, Meta misses many purchases, and it optimises your campaigns on incomplete data. Ad blockers and browser privacy limits remove more.
dataMonitorio uses Shopify's own app pixel for checkout. It sends checkout events to your server-side Google Tag Manager container, where the Conversions API tag sends them on to Meta.
Before you start
- dataMonitorio on the Growth or Pro plan (Meta is not part of Free).
- A Google Tag Manager web container and a server container. Any host works, and a free plan is fine to start. For first-party tracking we recommend Stape on your own subdomain, on a paid plan once your traffic grows.
- A GA4 measurement ID. Storefront events reach your server container through GA4, so guided setup asks for it with any ad platform.
- Access to Meta Events Manager for your pixel.
Set it up with dataMonitorio
- Connect your cookie banner first. In dataMonitorio, open Settings → Cookie banner and choose your banner (during setup, the Cookie banner step finds it for you). Do this before you generate your tags, so the Meta tags wait for consent.
- Enter your Meta details. In guided setup, choose GA4 and Meta in the Ad platforms step. Then, in the Platform IDs step (or Tag setup → Update tags), fill in your Pixel ID (Events Manager → Data sources → your pixel) and a Conversions API access token (your pixel → Settings → Conversions API → Generate access token). The containers are built in your browser, so the token is never sent to us.
- Generate and import both containers. Click Generate, then Download web container and Download server container. In Google Tag Manager, import the web file into your web container and the server file into your server container, each with Merge → Rename conflicting (Overwrite when you update).
- Test, then publish. Add a test event code from Events Manager → Test events while you check. Preview both containers and place a test order, or publish and run a test order on the app's Test page (Growth and Pro), which shows whether Meta accepted each event. When everything arrives, clear the test code, click Update tags, import again with Merge → Overwrite, then Publish both containers.
Check it's working
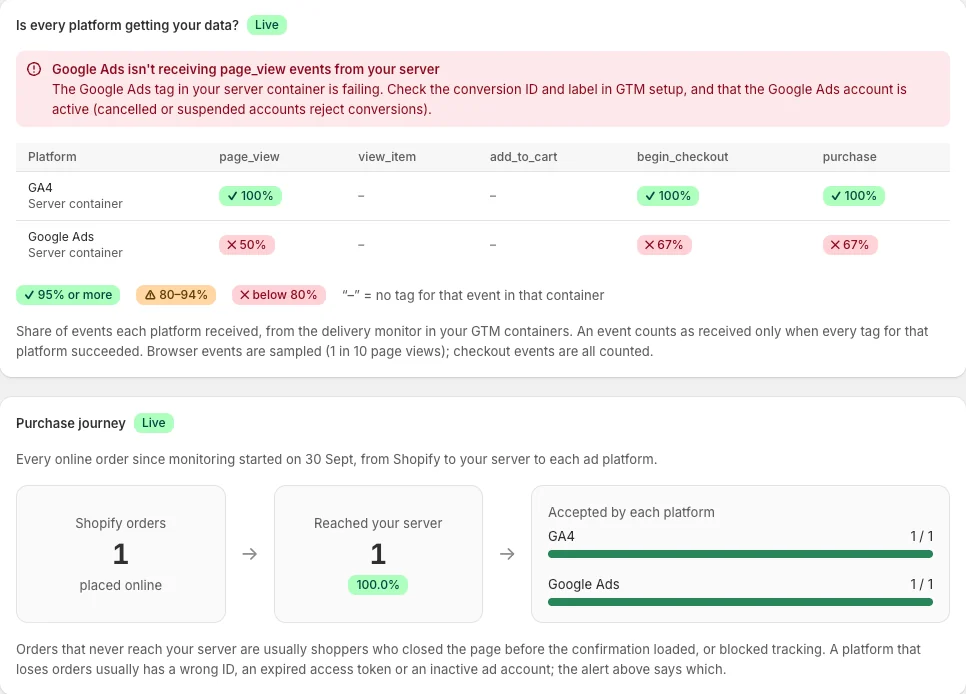
Open Events Manager → Test events and browse your store. Storefront events such as PageView, ViewContent and AddToCart should arrive from the browser and the server and be marked as deduplicated. Checkout events and Purchase arrive from the server.
Already using the Facebook & Instagram app?
If its data sharing also sends purchases to the same pixel, Meta can count a sale twice. Choose one source for purchase events.
Common questions
Which plan do I need?
Growth or Pro. The Free plan covers GA4 and Google Ads.
Does dataMonitorio see my access token?
No. dataMonitorio builds the containers in your browser, and the token goes straight into your own server container.
Do I need server-side GTM?
Yes. Shopify's checkout doesn't allow GTM in the browser, so checkout events go to your server container.